Arcpoly Tools Instructions
Hướng Dẫn Tạo Tài Khoản và Sử Dụng Plugins Arcpoly Tools Miễn Phí
Gỡ Cài Đặt và Cập Nhật Plugins Mới
Gỡ Cài Đặt và Cập Nhật Plugins Mới
Arcpoly Material Online Tools - Thư Viện Vật Liệu Online
Arcpoly Quick Material Tools - Tạo vật liệu nhanh
Arcpoly Library Materials Tools - Thư Viện Vật Liệu Sử Dụng Quản Lý Lưu Trữ Vật Liệu
Arcpoly Texture Editor Tools - Trình Chỉnh Sửa Texture Của Vật Liệu
Arcpoly Balance Texture Tools - Cân Chỉnh Vật Liệu Theo Tỷ Lệ Ảnh Texure
Arcpoly Export Import Material Tools - Xuất Nhập Vật liệu File Skm Nhanh
Arcpoly Clearing Excess Material Tools - Làm Sạch Vật Liệu Trên Đối Tượng Được Chọn
Arcpoly Smart Paint Tools - Bộ Công Cụ Tô Vật Liệu Thông Minh
Arcpoly Quick Move Tools - Di Chuyển Đối Tượng Trên mọi Bề Mặt
Arcpoly Hide Edges Tools - Ẩn Hiện Nét Line Làm Mềm Mượt Đối Tượng
Arcpoly Select Tools - Bộ Công Cụ Chọn Đối Tượng
Arcpoly Deep Tools - Chọn Sâu Đối Tượng Và Push Pull Sâu Khối
Arcpoly Stats Selection - Xem Thông Tin Chi Tiết Của Đối Tượng Được Chọn
Arcpoly Swap Object Tools - Hoán Đổi Đối Tượng Components
Arcpoly Random Tools - Random Rotate Scale Nhóm Đối Tượng
Arcpoly Tools Document
Lorem ipsum dolor sit amet, consectetur adipiscing elit. Ut elit tellus, luctus nec ullamcorper mattis, pulvinar dapibus leo.
ARCPOLY FREE TOOLS INSTALLATION & ACTIVATION
This guide outlines the precise steps required to create an account, download, install, and activate the free utility plugins (Free Tools) provided by Arcpoly Tools within your SketchUp environment.
I. DOWNLOADING THE FREE PLUGINS
All Arcpoly plugins must be acquired through the official website’s system and are managed via a personal user account.
| Step | Action | Details and Key Notes |
| 1. Access Website | Navigate to the regional section of the website. | Visit arcpoly.com, hover over Arcpoly Tool, and select the appropriate regional link (e.g., “Arcpoly Tool Vietnam” if applicable, or the main store). |
| 2. Select Free Tools | Add the free utilities to your shopping cart. | Scroll down to locate the Free Tools section. Add all desired free utilities, and critically, include the Arcpoly Account Manager to your cart (Add to cart). |
| 3. Checkout Process | Complete the zero-cost purchase. | Go to your cart (View cart) and proceed to Check Out. – Enter your personal details (Name, Email, Phone Number). – Check the “Create an account” box to generate a necessary customer account for managing the purchase. – Finalize the order. |
| 4. Download Installation Files | Download the necessary RBZ installation files. | After “payment,” the interface will provide download links. Download all plugins, ensuring you include the Arcpoly Account Manager (This is the mandatory base plugin). |
II. PLUGIN INSTALLATION IN SKETCHUP
Arcpoly plugins use the .RBZ format and must be installed using SketchUp’s built-in Extension Manager.
| Step | Action | Details and Key Notes |
| 1. Open Manager | Access the Extension Manager in SketchUp. | Go to the top menu: Extension > Extension Manager. |
| 2. Install RBZ Files | Install each downloaded plugin file individually. | Click the Install Extension button. – Priority Rule: You must install the Arcpoly Account Manager file first, as it handles the licensing and login for all other Arcpoly plugins. |
| 3. Finalize Installation | Verify plugin presence on the toolbar. | After successful installation, the tools (like Deep Select, Random Tool) will appear on your toolbar. They will be displayed in a grayed-out state (inactive) until activation. |
III. ACCOUNT CREATION AND TOOL ACTIVATION
To fully utilize the installed plugins, you must create a dedicated tool account via the plugin interface and log in.
| Step | Action | Details and Key Notes |
| 1. Open Login Window | Launch the plugin login interface. | Click the Login button on the Arcpoly Account Manager toolbar. |
| 2. Register Tool Account | Redirect to the tool registration page. | In the Login dialog, click the Register link. The official registration website will open in your browser. |
| 3. Fill Details & Activate | Complete registration and verify via email. | – Fill in all required fields (Email, Password, Phone Number). Crucially: Use a valid email address. – After registering, an activation code will be sent to your email. Check your inbox (including Spam/Junk or All Mail folders), retrieve the activation code, and enter it to verify your account. |
| 4. Login and Activate | Link the tool to your new account. | Return to the Login window in SketchUp. – Enter your new Email and Password. – Crucial Tip: Check the Remember Me box to keep your session active, preventing you from having to log in every time you open SketchUp. |
| 5. Ready to Use | Final successful activation. | Upon successful login, the free plugins (Deep Select, Random Tool, etc.) will become active (changing from grayed-out to their normal color) and are ready for use. |
ARCPOLY PLUGIN UNINSTALLATION AND UPDATE PROCESS
This guide provides the necessary steps for users to properly remove old versions of Arcpoly plugins and install new, updated versions using SketchUp’s Extension Manager. This process is essential for troubleshooting issues and accessing the latest features.
I. UNINSTALLING (REMOVING) OLD PLUGINS
To ensure a clean installation and prevent conflicts, it is crucial to remove the old version before updating.
| Step | Action | Detailed Description |
| 1. Access Manager | Open the Extension Manager in SketchUp. | Go to the top menu: Extension > Extension Manager. |
| 2. Locate Plugin | Find the specific Arcpoly plugin you need to remove. | Scroll through the list and locate the plugin name (e.g., Arcpoly Random Tools). |
| 3. Uninstall | Use the standard SketchUp method to remove the extension. | Click the Uninstall button (or similar option, depending on the SketchUp version) next to the plugin’s name. |
| 4. Restart SketchUp | Close and reopen the program. | After uninstalling, you must restart SketchUp completely. This ensures the old files are fully flushed from the system memory and not loaded on startup. |
II. UPDATING (INSTALLING NEW VERSIONS)
After successfully removing the old version, you can proceed with the installation of the new files.
| Step | Action | Detailed Description |
| 1. Download New File | Obtain the latest version of the plugin. | Download the new .RBZ file from your Arcpoly customer account dashboard or the provided update link. |
| 2. Re-open Manager | Access the Extension Manager again. | Go to Extension > Extension Manager. |
| 3. Install New Version | Install the updated .RBZ file. | Click the Install Extension button and navigate to the location where you saved the new .RBZ file. Select the file and click Open. |
| 4. Verify Installation | Ensure the updated version is functional. | Check the toolbar to confirm the plugin icons have appeared (or been reactivated) and test the functionality. You should now be running the latest version. |
IMPORTANT NOTE: ARCPOLY ACCOUNT MANAGER
The Arcpoly Account Manager plugin should be treated as the foundational component. If you are updating other plugins, you generally do not need to uninstall or update the Manager unless specifically instructed.
The Account Manager handles your login and licensing. Once logged in, your updated tools should immediately become active (change from gray to active color).
ARCPOLY LIBRARY MATERIALS TOOLS
The Arcpoly Library Materials Tools is an indispensable utility for architects, designers, and 3D artists working with SketchUp and Enscape. It provides a robust and centralized system for managing, storing, and deploying high-quality material libraries across all your projects.
I. LIBRARY SETUP AND ACCESS MANAGEMENT
This section details the initial steps required to connect the Arcpoly tool with your material asset library.
1. Initial Access and Interface Overview
| Feature | Detailed Description | Step-by-Step Action |
| Open Library Interface | Initiates the core material management window, providing centralized access to all features. | Click the Library Material button (the book icon) on the toolbar. |
| Establish Root Folder | Critical step to link the tool with your local storage location for material files. | 1. Extract/Unzip your material assets (e.g., the complimentary 600-material library). 2. Click Change Root. 3. Navigate to and select the main folder that contains all the material sub-directories. 4. Click Select Folder. The tool will populate the interface with all available materials. |
| Material Browsing | Allows users to quickly navigate and filter materials based on predefined categories. | Click on the various categories listed on the left column (e.g., Brick, Concrete, Fabric, Metal, etc.) to filter the library contents. |
II. MATERIAL USAGE AND TEXTURE MAPPING
Once the library is set up, these features allow for seamless material application and sophisticated texture adjustments.
1. Fast Material Import and Application
| Feature | Detailed Description | Step-by-Step Action |
| Load Selected Material | Imports the chosen material directly into the SketchUp Material Palette, making it instantly ready for painting. | Select the desired material thumbnail, then press the Load Select button. |
| Minimize Interface | Keeps the tool accessible without obstructing the modeling view. Crucial for workflow efficiency. | Click the Minimize button (the minus sign, –). Do not close the window (X), as this forces the tool to restart, incurring a time delay. |
2. Advanced Enscape Texture Mapping Adjustments
The tool allows quick access to Enscape settings for fine-tuning material properties.
| Feature | Purpose and Context | Action and Best Practice |
| Access Material Editor | Opens the Enscape Material Editor for the applied material. | After painting the material onto your surface, click the Sample Material icon within the Arcpoly tool. |
| Texture Optimization | Guiding users on when to use specific map types for best rendering results. | – Use Displacement: Recommended for close-up, high-detail Still Images (provides true 3D geometry). – Use Normal Map: Recommended for Animations/Videos or large models (optimizes performance and prevents visual glitches during camera movement). |
| Texture Scaling | Adjusting the repetition and size of the material on the geometry. | Utilize the standard Edit/Texture settings within the SketchUp interface to modify the scale (e.g., changing from 1m to 1.5m). |
III. PERSONAL LIBRARY MANAGEMENT AND SHARING
This is where the tool excels, empowering users to build, organize, and share their customized material assets.
1. Custom Material Saving and Organization
| Feature | Purpose and Context | Step-by-Step Action |
| Save Custom Material | Stores a material you have customized (including all Enscape map and slider settings) for future reuse across any project. | 1. Create a New Sub-Folder (e.g., “My_Favorites”). 2. Rename the material within SketchUp (e.g., “Polished_Terrazzo”). 3. Select the target folder and click the Save icon (the floppy disk). |
| Material/Folder Movement | Facilitates internal library restructuring and organization. | Drag and Drop the material or entire folder between different locations within the management interface. |
| Refresh Library | Instantly updates the visible material list after external changes. | Click the Refresh button if you manually copied new material folders into the root directory. |
2. Asset Sharing and Backup
| Feature | Purpose and Context | Step-by-Step Action |
| Share as Zip File | Creates a portable, compressed package of selected materials for easy collaboration or secure backup. | Select one or multiple materials, then click Share Zip. Save the generated .zip file (it contains all necessary textures). |
| Delete Assets | Maintains a clean and organized library by removing obsolete or unused materials. | Right-click on the material and select Delete, or select the folder and click Delete Folder to remove all contents. |
KEY BENEFITS OF USING ARCPOLY MATERIALS TOOLS:
Centralized Control: Manage all material assets from a single, intuitive dashboard.
Workflow Acceleration: Apply and fine-tune materials with minimal clicks and immediate results.
Consistency: Ensure identical, high-quality material settings across multiple projects and team members.
Efficiency: Reduce project loading times and system overhead by utilizing a dedicated, structured library.
ARCPOLY TEXTURE EDITOR TOOLS
The Arcpoly Texture Editor Tools is an advanced material editing utility designed to provide specialized control over a material’s texture map (diffuse map). It offers in-depth adjustments for color, brightness, rotation, and scaling that surpass the capabilities of SketchUp’s standard material palette.
I. ADVANCED COLOR AND IMAGE ADJUSTMENTS
After activating the tool and using it to sample a material (the Sample Material icon), the interface loads the material’s current texture, allowing for detailed manipulation.
| Parameter | Function | Practical Application & Notes |
| Brightness | Adjusts the overall lightness or darkness of the texture map. | Used to quickly lighten an area that is too shadowed or darken a material that appears washed out in the render. |
| Contrast | Controls the difference between the darkest and lightest areas of the texture. | Increasing contrast adds depth and sharpness to details (e.g., wood grain, rock texture). |
| Color Temperature | Shifts the color balance towards warmer (yellow/red) or cooler (blue) tones. | Essential for correcting color casting (e.g., removing a yellow tint from a tile texture to achieve a neutral gray). |
| Tint Color | Applies a color shift towards green or magenta/purple. | Used for fine-tuning color balance, often alongside Color Temperature. |
| Hue | Shifts the entire color wheel (e.g., changing green to blue). | Useful for quickly altering the core color of a material without changing its luminance or saturation. (Double-click any slider to reset to default). |
| Saturation | Controls the intensity or purity of the colors in the texture. | Desaturate materials to make them appear more subdued or increase saturation for vibrant, rich colors. |
| Image Fade | Blends the original texture with a chosen solid color. | Highly useful for wood textures or veneers where you want to maintain the grain pattern but lighten or alter the underlying color foundation. You can select the blending color from the palette. |
| Tint Color (Overlay) | Overlays the entire texture with a specific color. | Provides a quick way to completely recolor a material, such as changing the shade of a colored plaster or concrete texture. Tip: Click instead of dragging the slider for more precise control. |
II. TEXTURE PLACEMENT AND TRANSFORMATION
This tool offers quick-access buttons for manipulating the texture’s orientation on the geometry. This is faster than using the texture position tools in SketchUp’s Edit menu.
| Feature | Icon | Purpose and Application |
| Rotate Texture (90°) | Rotation Icons | Rotates the texture map on the surface by 90-degree increments. |
| Flip Texture | Mirror/Symmetry Icons | Flips (mirrors) the texture horizontally or vertically. |
| Application Scenario | Correction of Misaligned Textures | These rotation and flip tools are invaluable when you apply a new map to an existing material that is already UV-mapped in SketchUp, but the new texture is aligned incorrectly (e.g., wood grain running vertically when it should be horizontal). Applying the change via the tool and clicking Apply instantly corrects the issue across all faces using that material. |
III. TEXTURE SIZE AND ASPECT RATIO
| Feature | Purpose | Notes |
| Adjust Size | Allows users to numerically input changes to the material’s scale. | Functions similarly to SketchUp’s size settings but is centralized within the editor. |
| Maintain Aspect Ratio | Ensures that width and height are scaled proportionally. | Ensures the texture does not become stretched or compressed when adjusting its size. |
The Arcpoly Texture Editor Tools delivers precision control over your materials, allowing for sophisticated visual customization without relying on external image editing software.
ARCPOLY BALANCE TEXTURE TOOLS
The Arcpoly Balance Texture Tools is a highly efficient utility designed to fix a common issue in SketchUp: incorrect texture aspect ratio when importing new image files. It automatically adjusts the UV scale of a material to precisely match the width-to-height ratio of the original texture image.
I. UNDERSTANDING THE PROBLEM
| Scenario | Explanation | Incorrect Result |
| New Material Import | When importing a new image file as a texture (e.g., a wood plank that is naturally long and narrow), SketchUp’s default behavior is to apply a square scale (e.g., 1m x 1m) to the material definition. | The texture appears stretched or compressed on the geometry because the 1:1 scale does not match the image’s original aspect ratio (e.g., 1:2 or 1:3). This results in an unrealistic look. |
II. TOOL FUNCTIONALITY AND STEP-BY-STEP INSTRUCTIONS
The Balance Texture Tool immediately analyzes the width and height of the source texture image and adjusts the material’s dimensions in SketchUp to reflect that true ratio.
| Step | Action | Detailed Description |
| 1. Apply Material | Apply the new texture to a face in your model. | The material will initially display incorrectly (e.g., a rectangular plank texture will look square and squat if SketchUp applied a 1m x 1m scale). |
| 2. Sample Material | Activate the tool and sample the material to be corrected. | Click the Sample Material icon (or similar tool used to select the active material) on the toolbar, and then click the material on the face. |
| 3. Execute Balance | Click the Balance Texture Tool icon. | This single click triggers the internal calculation. The tool checks the source image file and automatically recalculates the width and height of the material in SketchUp (e.g., changing the scale from 1m x 1m to 1m x 1.964m). |
| 4. Verification | Check the material’s appearance. | The texture will instantly “snap” to the correct aspect ratio, displaying the image without any stretching or distortion. |
III. PRACTICAL APPLICATIONS
| Feature | Purpose and Benefit |
| Accurate Texturing | Ensures all custom imported textures (wood, fabric, stone, etc.) are displayed at their mathematically correct proportions, significantly boosting realism. |
| Efficient Scaling | Once the aspect ratio is balanced, you can confidently use standard SketchUp scaling methods (e.g., typing a new length value) knowing that the texture will scale proportionally and correctly in both width and height. |
| Time Saving | Eliminates the need to manually calculate the image aspect ratio and input custom width/height values into the SketchUp material editor, streamlining the material workflow. |
ARCPOLY EXPORT IMPORT MATERIAL TOOLS
The Arcpoly Export Import Material Tools plugin provides a streamlined method for managing and transferring materials between SketchUp files using the native SketchUp Material file format (.SKM). This is a quick alternative for sharing individual materials without relying on the full library system.
I. CORE FUNCTIONALITY
The tool simplifies the process of saving a material from the current model as an .SKM file and loading an existing .SKM file into the current model.
| Feature | Action Type | Purpose |
| Import Material | Loads an .SKM file from your computer into the current SketchUp session. | Quickly brings a single, pre-saved material into the model for immediate use. |
| Export Material | Saves the currently active material in SketchUp as a separate .SKM file. | Creates a portable material file that can be easily shared or backed up outside of the main material library. |
II. STEP-BY-STEP INSTRUCTIONS
1. Importing an .SKM Material
| Step | Action | Detailed Description |
| 1. Initiate Import | Click the Import Material button (often an “In” arrow icon). | A standard file browser window will appear. |
| 2. Select File | Navigate to and select the desired .SKM file. | The file must be in the SketchUp Material (.SKM) format. |
| 3. Finalize | Click Open. | The material definition is immediately added to the In Model material palette and is ready to be applied to geometry. |
2. Exporting an Existing Material
| Step | Action | Detailed Description |
| 1. Sample Material | Activate the tool to select the material you wish to export. | Use the Sample Material tool (similar to the Paint Bucket sample function) to click on the material applied to a face. |
| 2. Initiate Export | Click the Export Material button (often an “Out” arrow icon). | A “Save As” file browser window will appear. |
| 3. Save File | Choose the desired location and confirm the file name. | The material, along with its associated texture map, will be saved as an .SKM file, which acts as a standalone material library for that one material. |
III. PRACTICAL APPLICATIONS
Quick Sharing: Easily send a single, custom-edited material to a collaborator without sharing the entire SketchUp file or a large material library folder.
Material Backup: Create individual backups of complex materials (e.g., highly customized wood or stone) before making major changes to the project.
Rapid Transfer: Use this tool to quickly move a material from Project A to Project B in a highly direct manner.
ARCPOLY CLEARING EXCESS MATERIAL TOOLS
The Arcpoly Clearing Excess Material Tools is a vital utility for model optimization in SketchUp. Its primary function is to automatically purge unused material definitions from your model, which significantly reduces file size, improves performance, and ensures a clean project database.
This tool targets materials that exist within the SketchUp file’s definition list but are not currently applied to any face or geometry in the model.
I. UNDERSTANDING EXCESS MATERIALS
| Concept | Explanation | Visual Identification in SketchUp |
| Used Material | A material that is actively applied to one or more faces within the model geometry. | In the SketchUp Material window (In Model tab), these materials are typically marked with a small triangle icon next to the thumbnail. |
| Excess Material | A material definition stored in the file, usually imported via components or previous steps, but is no longer used on any geometry. | In the SketchUp Material window, these materials do not have the triangle icon. They are the targets for removal. |
| Impact | Excess materials increase file size and processing load, leading to slower saving, opening, and general SketchUp performance. | Purging these materials is critical for maintaining an optimized and fast workflow. |
II. TOOL INSTRUCTIONS AND USAGE
The tool simplifies the tedious, manual process of right-clicking and deleting unused materials one by one.
| Step | Action | Detailed Description |
| 1. Locate and Click | Click the Clearing Excess Material Tools icon (usually the final button in the material toolset). | This single click initiates the material purging process across the entire model. |
| 2. Wait for Processing | The tool will run a check on all material definitions. | For very large files (e.g., 500MB or more), the processing time may be prolonged. The duration depends on the volume of excess data. |
| 3. Verification | Once complete, check the In Model tab of the SketchUp Material window. | All excess materials (those without the triangle icon) will have been successfully removed, leaving only the materials currently in use. |
III. IMPORTANT BEST PRACTICES
1. Enscape Users
Disable Live Sync: It is highly recommended to disable the Enscape Live Synchronization feature before using this cleaning tool.
Reasoning: Disabling sync prevents the two programs from constantly updating material definitions during the purge process, which significantly reduces the total cleanup time and prevents potential synchronization delays.
2. Benefits of Regular Purging
File Size Reduction: Often leads to substantial drops in file size, making models easier to save, transfer, and back up.
Performance Boost: A lighter, cleaner file loads and saves faster, improving SketchUp’s responsiveness.
Clean Palette: Keeps your Material Palette organized, allowing you to easily find and work with only the necessary materials.
The Arcpoly Clearing Excess Material Tool is an essential maintenance utility that ensures your SketchUp models remain efficient and streamlined.
ARCPOLY SMART PAINT TOOLS
The Arcpoly Smart Paint Tools is an indispensable suite of utilities designed to revolutionize how materials are applied, replaced, duplicated, and removed in complex SketchUp models. These tools significantly reduce the time spent navigating nested geometries and managing material definitions.
I. CORE PAINTING AND REPLACEMENT TOOLS
This section covers the primary functions for applying and swapping materials quickly and efficiently.
| Feature | Tool Name | Function and Step-by-Step Usage |
| 1. Deep Paint | Deep Paint | Function: Allows the user to apply a material to faces inside groups or components without manually entering them (no double-clicking required). Usage: 1. Select the desired material (using the Paint Bucket or another sampling method). 2. Activate the Deep Paint button. 3. Click the target object (Group/Component). The material will be applied to the nested faces. |
| 2. Material Replacement | Replace Material | Function: Swaps one material definition for another across all faces painted with the old material on the selected object(s). Usage: 1. Activate the Replace Material button. 2. Hold ALT and click to Sample the Old Material (the one you want to replace). 3. Release ALT and click to Paint the New Material onto the object(s). |
| 3. Replacement & Duplicate | Replace Material (Shift) | Function: Performs the replacement while simultaneously creating a unique duplicate copy of the new material definition for the object being painted. Usage: 1. Activate the Replace Material tool. 2. Hold ALT and click the Old Material. 3. Hold SHIFT and click the New Material. The tool creates a copy (e.g., Wood 001) ensuring that subsequent edits to this material only affect the newly painted object. |
II. MATERIAL MANAGEMENT AND CLEANUP TOOLS
| Feature | Tool Name | Function and Practical Application |
| 4. Duplicate Material | Duplicate | Function: Creates a standalone, numbered copy of the sampled material (e.g., Wood 002) in the In Model palette. Usage: 1. Sample the source material. 2. Click the Duplicate button. The new copy is created and automatically set as the active material, ready to be painted onto a new object that requires unique editing properties. |
| 5. Remove All Materials | Remove Material | Function: Quickly strips all material definitions from the selected object(s) or the entire model, reverting surfaces to the default face color. Usage: 1. Select the target object(s) (or the entire model). 2. Click the Remove Material button. Application: Useful for cleaning up a model before sending it to a client who only needs the geometry, preventing them from accessing your texture files or material properties. |
KEY WORKFLOW BENEFITS
Speed: Eliminates manual navigation into groups for painting.
Consistency: The Replace Material (Shift) feature is vital for complex models where different objects must look the same but be editable independently (e.g., two identical wooden tables that need different saturation values).
Model Cleanup: The Remove Material function offers a fast, one-click solution for preparing geometry for external export or client review.
ARCPOLY QUICK MOVE TOOLS
The Arcpoly Quick Move Tools is a vital productivity suite for accelerating the process of object placement and positioning within SketchUp. It includes two primary functions: instantly moving objects to the coordinate origin and accurately placing objects onto any surface, regardless of slope.
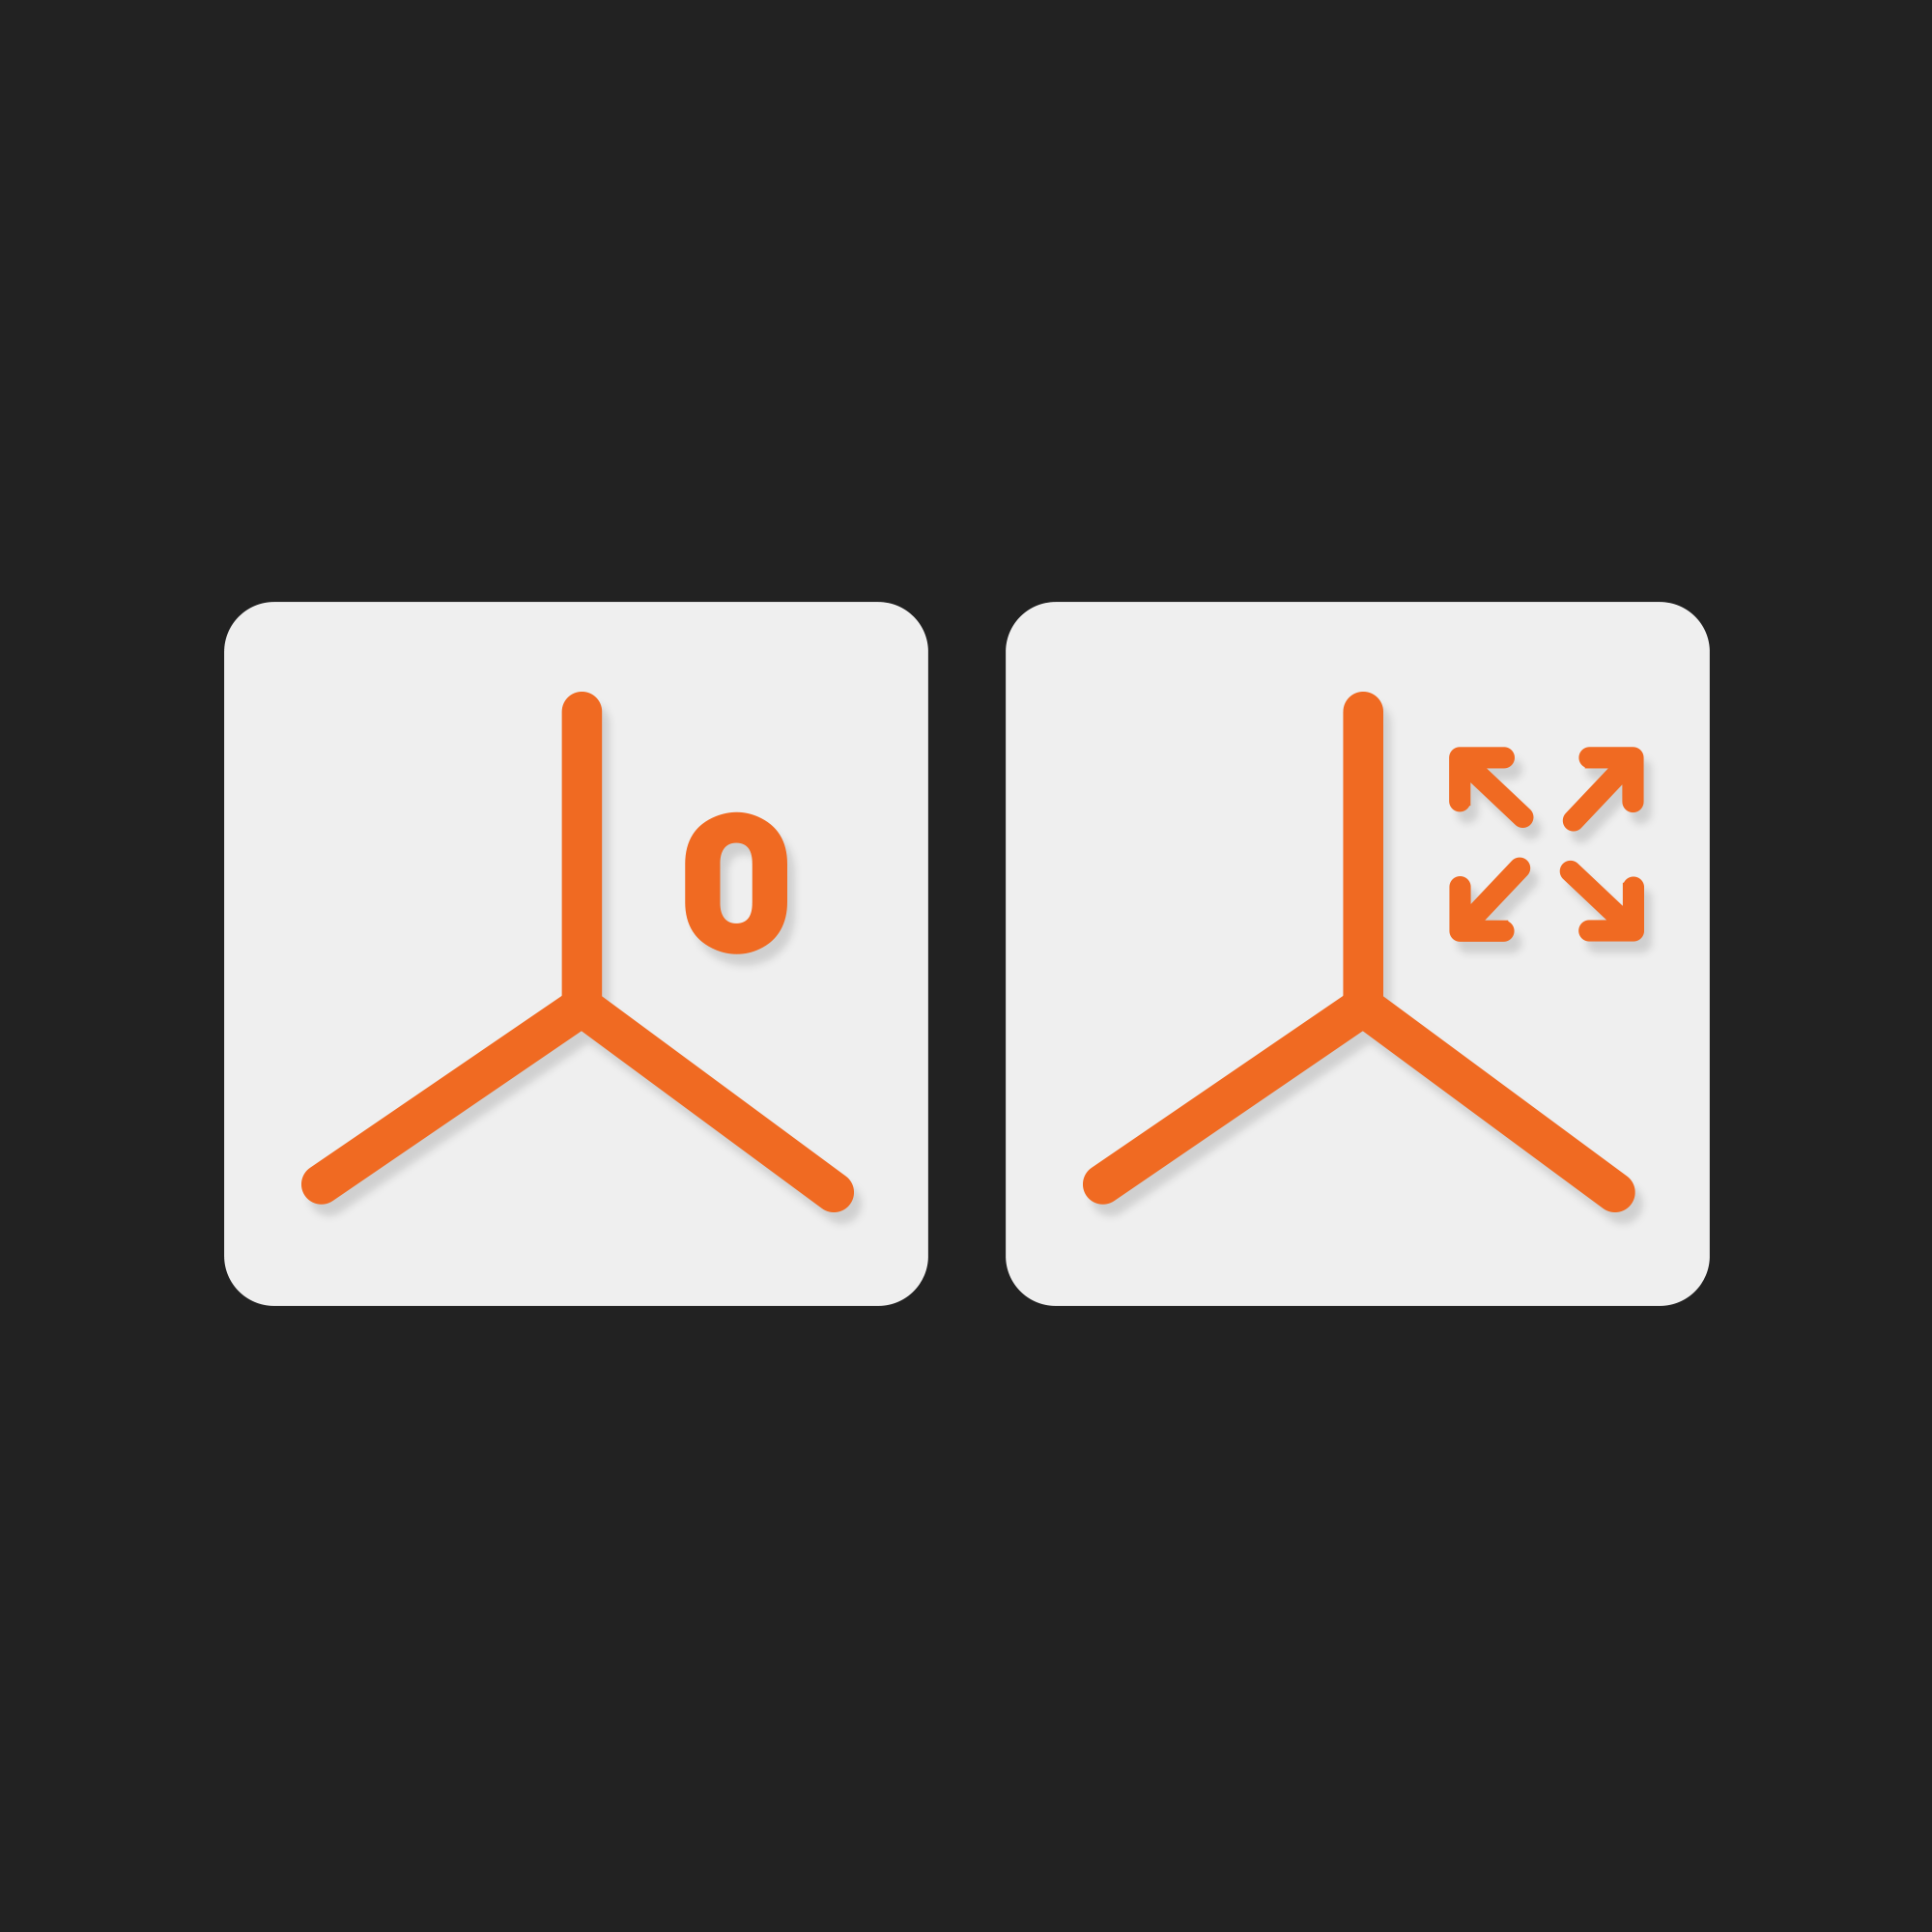
I. MOVE TO ORIGIN TOOL
| Feature | Function | Usage and Application |
| Move to Origin | Instantly moves the selected object to the SketchUp coordinate origin (0, 0, 0). | Usage: 1. Select the object (Group/Component). 2. Click the Move to Origin button (often an icon pointing to the corner). Application: Essential when importing distant 3D library components or when a model’s geometry has been accidentally moved far away from the main project site, bringing it back for easy editing and management. |
II. PLACE ON SURFACE TOOL (QUICK MOVE)
This tool allows you to quickly place objects (such as cars, trees, furniture, or rocks) onto any surface, including sloped terrain, roofs, or walls.
1. Configuration Settings
Before using the tool, you should define how the object will interact with the surface in the Settings menu.
| Setting | Options | Function |
| Pivot Point | Center, Bottom Center, Top Center, Axis Origin. | Determines the exact point of the object that will touch the target surface. Recommendation: Axis Origin or Bottom Center is generally preferred for natural placement. |
| Group Objects | Toggle On/Off. | If multiple objects are moved, this option groups the targets into a single, new Group for easier management. |
| Align to Surface | Toggle On/Off. | On: The object automatically rotates (pitches and rolls) to be perpendicular to the surface it lands on (suitable for vehicles on a ramp, or furniture on a sloped floor). Off: The object maintains its current rotation (suitable for trees, lampposts, or vertical objects). |
| Copy Mode | Toggle On/Off. | Instead of moving the original object, each click creates a copy of the object at the new location. |
2. Step-by-Step Usage (Place on Surface)
| Step | Action | Details |
| 1. Select Object | Select the object (Group/Component) you want to place or move. | If Copy Mode is enabled, you only need to select the object once. |
| 2. Activate Tool | Click the Place on Surface button (Icon typically showing an object on a plane). | The tool enters the active placement state. |
| 3. Position Object | Click the desired target surface. | The object is instantly moved to the clicked location and automatically adjusted based on your Settings (Pivot Point and Align to Surface). |
III. IMPORTANT NOTE ON SCALING AND ERRORS
Placement Error (Floating/Displaced Objects): If an object floats above the surface or is misplaced after using the tool, the most common cause is that the object was Scaled (resized) but not Exploded afterward.
Correction: If the object has been non-uniformly scaled, you must Explode the Group/Component, re-Group it (or make it a Component again), and then use the Place on Surface tool. This resets the object’s transformation matrix, allowing the tool to calculate the correct placement based on its actual current dimensions.
ARCPOLY HIDE EDGES TOOLS
The Arcpoly Hide Edges Tools plugin offers four quick-access buttons to manage the appearance of edges (lines) on groups and components. This tool is essential for model optimization, improving performance, and enhancing visual realism for rendering.
I. EDGE VISIBILITY MANAGEMENT
These two functions allow for immediate toggling of all visible edges on a selected object, contributing to better viewport performance.
| Feature | Icon | Function and Purpose |
| Hide All Edges | Hidden Line Icon | Function: Instantly hides all edges (lines) on the selected group or component. |
| Show All Edges | Visible Eye Icon | Function: Reverts the previous action, making all previously hidden edges visible again. |
| Application | Performance & Cleanliness | Hiding unnecessary edges helps streamline the viewport, making navigation smoother, especially in detailed areas. |
II. SMOOTHING AND SOFTENING MANAGEMENT
These functions automate the process of applying SketchUp’s Soften/Smooth Edges feature, which is crucial for making curved or organic surfaces appear seamless and realistic.
| Feature | Icon | Function and Purpose |
| Smooth Edges | Smooth Icon | Function: Applies maximum smoothing (Turbo Smooth equivalent) to the edges of the selected object. |
| Unsmooth Edges | Unsmooth Icon | Function: Removes the smoothing applied in the previous step, reverting the edges to their rigid, visible state. |
| Application | Visual Realism (Rendering) | These buttons are used to quickly activate the “smooth edges” property, which is vital when rendering (e.g., in Enscape or V-Ray) to ensure curved geometries (like furniture, cylinders, or terrain) appear perfectly seamless and rounded, rather than faceted. |
III. SKETCHUP EQUIVALENT AND EFFICIENCY
The Arcpoly tool buttons directly control the settings found in the SketchUp context menu: Softening/Smoothing Edges dialog box.
| Arcpoly Benefit | SketchUp Equivalent | Efficiency Gain |
| One-Click Execution | Right-click the object > Softening/Smoothing Edges > Adjust the slider and check boxes. | Arcpoly performs the full action instantly with a single click, eliminating the need to right-click, navigate menus, and adjust sliders for every object. |
| Softening Slider | When you use the Smooth Edges function, the tool automatically maximizes the smoothing effect (similar to pulling the slider fully to the right), providing a quick “max smooth” operation. |
The Arcpoly Hide Edges Tools is a useful utility for quickly optimizing the visual display of your model, which is essential for both working efficiently in the viewport and achieving high-quality render output.
ARCPOLY SELECT TOOLS
The Arcpoly Select Tools is a highly efficient collection of selection utilities designed to speed up the process of filtering, managing, and manipulating specific entities and repeating objects within your SketchUp model. This tool is invaluable for bulk editing and model organization.
I. GEOMETRY FILTERING TOOLS
These features allow users to quickly select specific entity types within the current selection set, eliminating the need for manual filtering.
| Feature | Icon | Function and Purpose |
| Select Faces | Face Icon | Function: Selects all planar surfaces (Faces) within the current selection. |
| Select Edges | Line Icon | Function: Selects all linear segments (Edges) within the current selection. |
| Select Guides/Dimensions | Dimension Icon | Function: Selects all construction lines (Guides) and dimension entities within the current selection. |
II. OBJECT SELECTION AND CONVERSION TOOLS
These powerful features focus on managing repeating Group and Component instances across the model.
| Feature | Tool Name | Function and Application |
| Select Same Component/Group | Select Same | Function: Selects all identical instances of the Component or Group that the user clicks on. Usage: 1. Activate the button. 2. Click on one instance of the target Component/Group. All matching objects will be instantly selected throughout the model. |
| Convert Group to Component | Convert to Component | Function: Converts all selected, identical Groups into a single Component definition. Application: This is a crucial optimization tool. It is used when a user accidentally copies a Group multiple times instead of a Component. Converting them saves file size and enables synchronous editing (fixing one object fixes all copies). |
III. PRACTICAL WORKFLOW APPLICATIONS
Bulk Editing: After using Select Same Component/Group, users can quickly delete, hide, or change the Layer/Material of hundreds of repeating objects in one single operation.
File Optimization: The Convert Group to Component feature drastically reduces the file size of models with repetitive geometry (e.g., repeating columns, railings, windows) by storing the geometry data once as a Component definition.
Rapid Cleanup: Enables the fast selection of non-essential entities (like dimensions or guides) for quick deletion across complex scenes.
ARCPOLY DEEP SELECT & DEEP PUSH/PULL TOOLS
The video you provided demonstrates a suite of highly efficient geometry manipulation tools, specifically focusing on advanced selection and editing functions for nested geometry: Arcpoly Deep Select and Arcpoly Deep Push/Pull.
I. DEEP SELECT TOOL
This tool allows you to select faces that are deeply nested within multiple layers of groups or components, without having to manually open each layer.
| Feature | Icon | Function and Purpose |
| Deep Select Face | Selection Icon | Function: Selects all surfaces (Faces) within the current selection set that share the same texture/material. |
| Quick Access | (Clicking the tool) | This function significantly speeds up the workflow when you need to quickly isolate faces for editing or material application inside a complex assembly. |
II. DEEP PUSH/PULL TOOL
This is the most powerful feature of the set, enabling the user to apply the standard Push/Pull operation to nested faces without entering the component/group structure.
| Feature | Icon | Function and Purpose |
| Deep Push/Pull | Push/Pull Icon | Function: Allows you to modify the thickness or depth of a face that is contained within one or more groups/components, without double-clicking to enter the group structure. |
Step-by-Step Usage
| Step | Action | Detailed Description |
| 1. Activate Tool | Click the Deep Push/Pull button. | The tool is now active and ready to bypass the normal SketchUp editing hierarchy. |
| 2. Select Face | Hover over the face you wish to modify. | Even if the face is nested, the tool will recognize and highlight it. |
| 3. Execute Operation | Click and Drag the face. | The face will be Push/Pulled normally, modifying the geometry within the nested group/component instantly. |
| 4. Reference Push/Pull | (Optional) Reference another face. | Just like standard Push/Pull, you can click on the initial face, drag, and then click on a distant reference face (even an external one) to match the depth precisely. |
III. WORKFLOW BENEFITS
| Benefit | Description |
| Time Saving | Eliminates the repetitive and time-consuming process of double-clicking in and out of nested components and groups just to adjust a single surface. |
| Complex Editing | Enables rapid modification of objects in models with deep hierarchies (e.g., changing the thickness of a panel on a complex window component). |
| Efficiency | Reduces the chance of errors that occur when accidentally editing the wrong component layer or forgetting to close an opened group before continuing to model. |
ARCPOLY SWAP OBJECT TOOLS
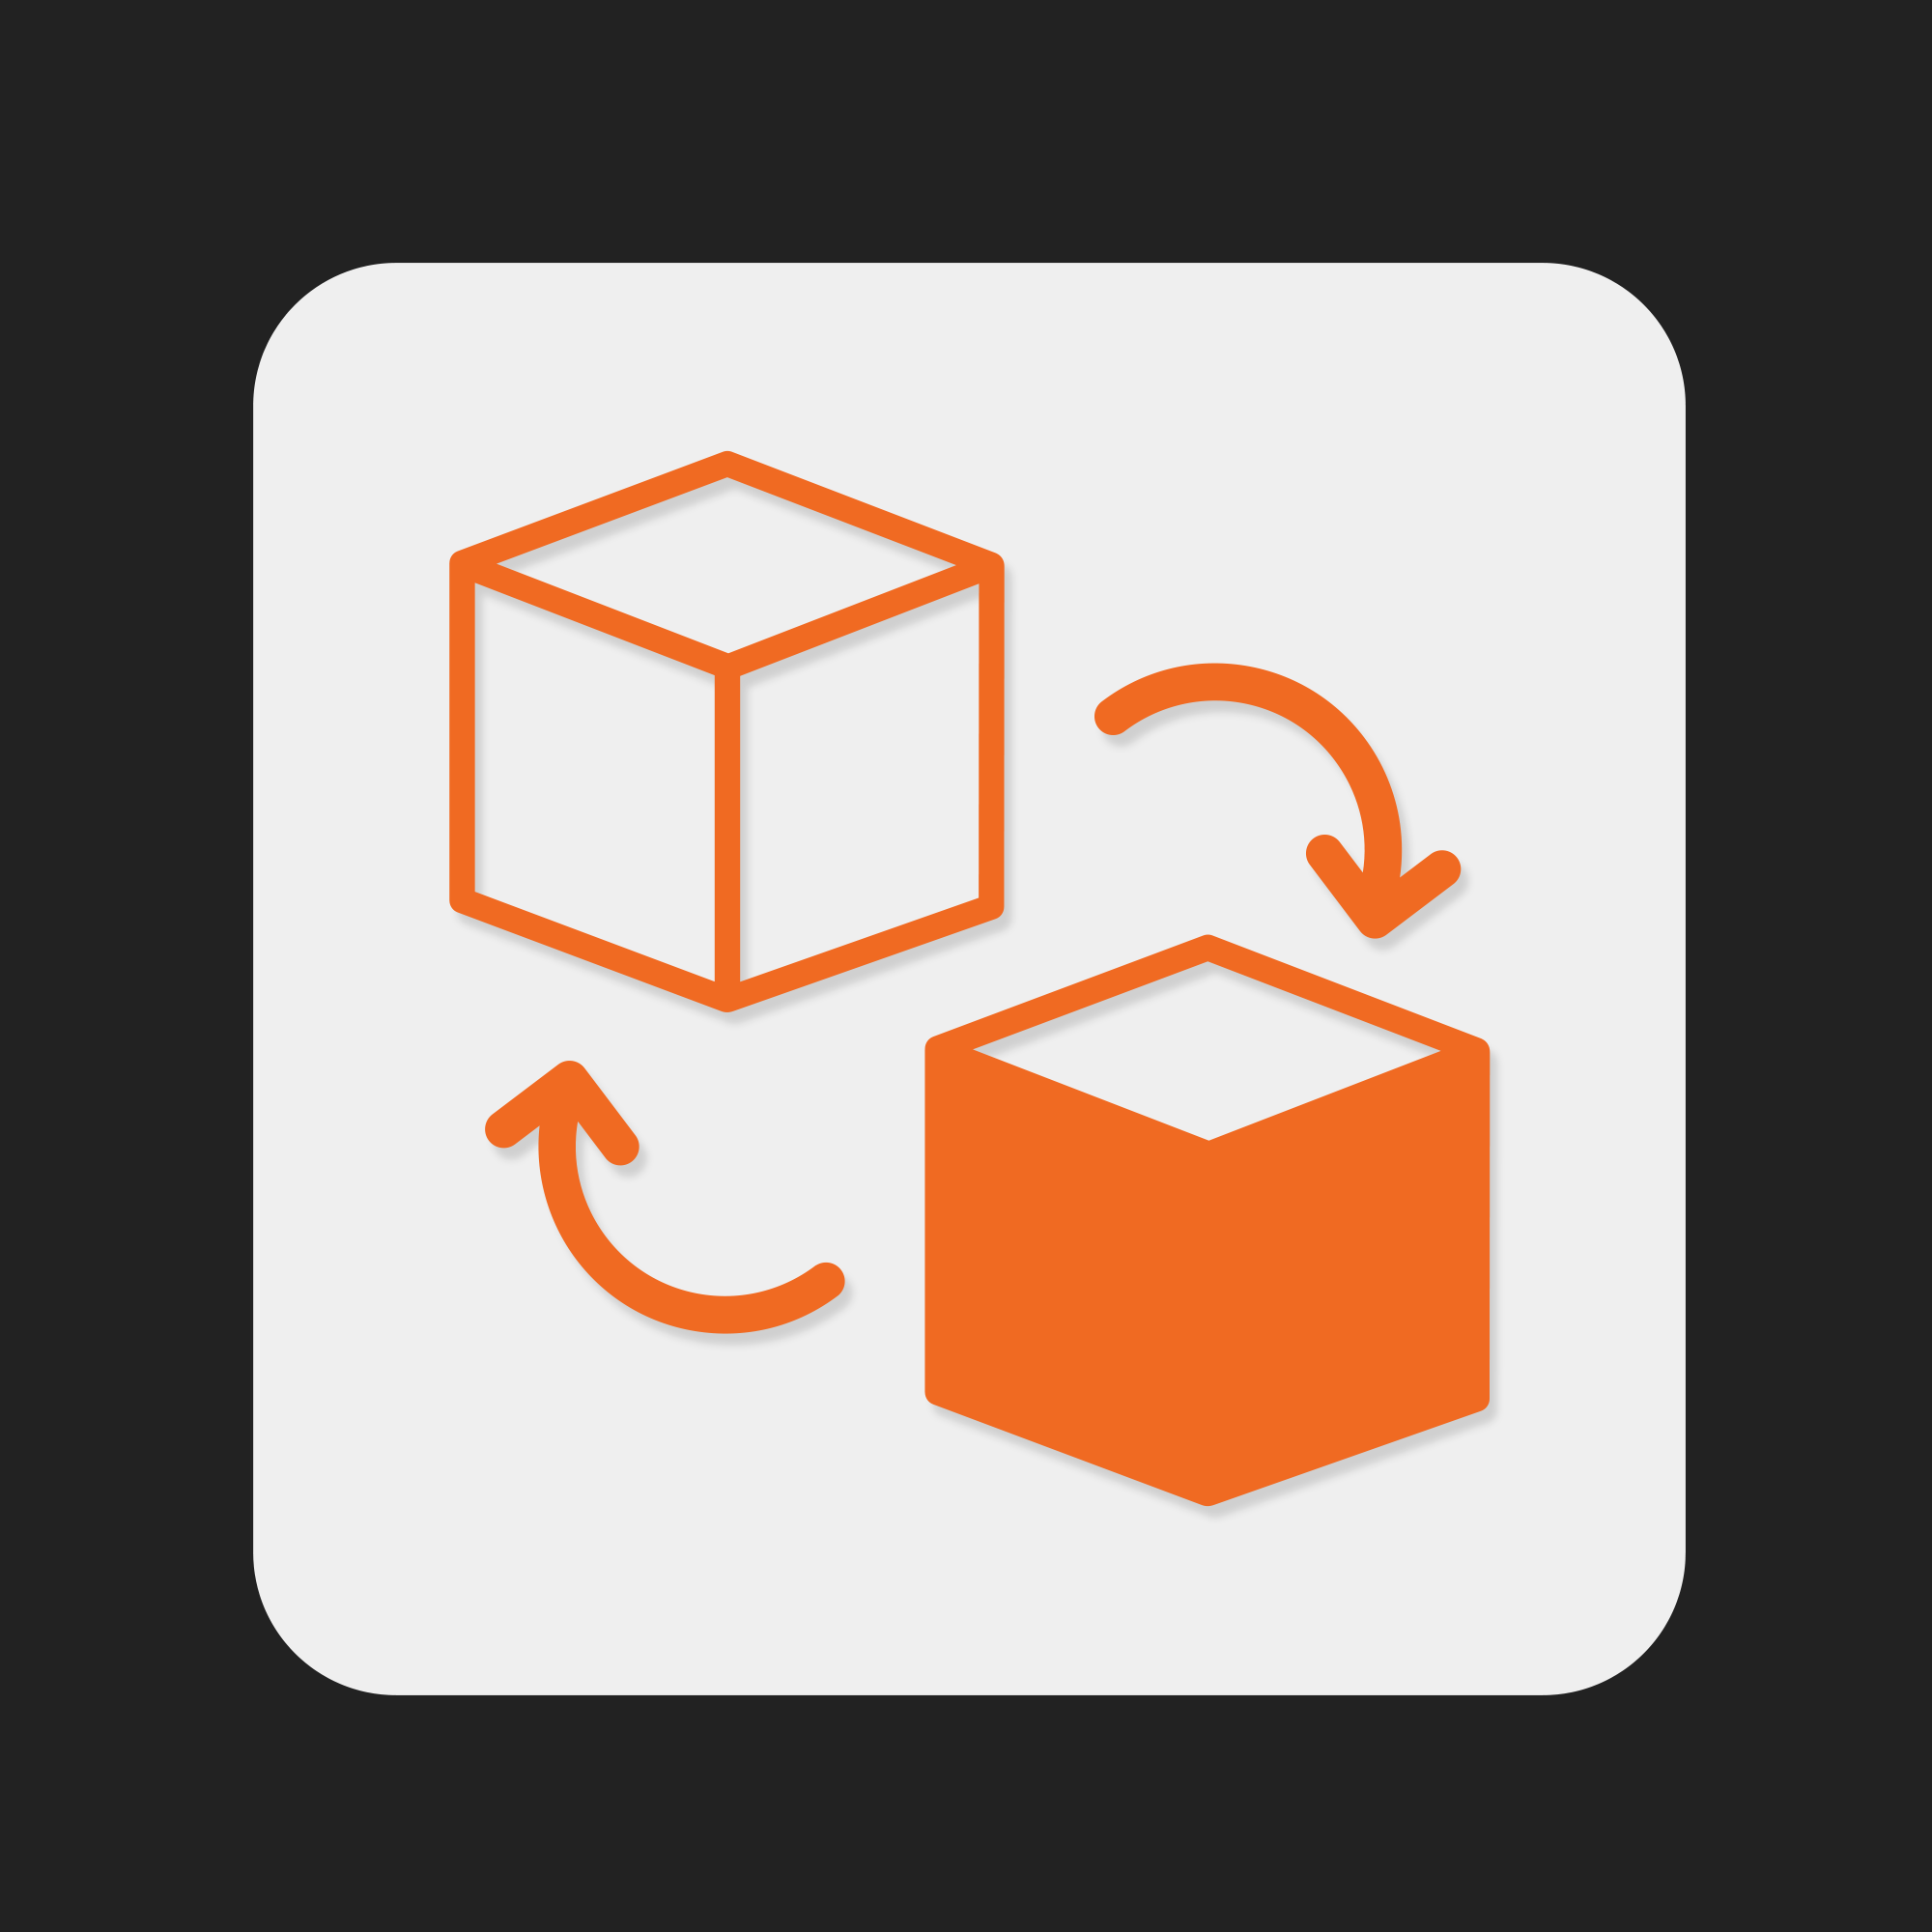
The Arcpoly Swap Object Tools plugin is a simple yet powerful tool designed to significantly accelerate your modeling workflow by allowing you to instantaneously swap all instances of one SketchUp Component with another. This is particularly useful for quickly testing design variations, changing model density, or modifying large landscape elements.
I. CORE FUNCTIONALITY AND PRIMARY USE CASE
The Swap Object Tool executes a 1-to-1 replacement, ensuring that the new Component inherits the position, rotation, and scale of the original object it replaces.
| Feature | Detailed Description | Key Benefit |
| Component Swapping | Replaces all instances of the Source Component with the Target Component across the entire SketchUp model. The swap preserves the exact location and orientation of the original objects. | Rapidly switch design elements (e.g., changing all standard chairs to lounge chairs, or all deciduous trees to evergreen trees) without manually deleting and repositioning. |
| Ease of Use | The tool requires only two clicks to execute the swapping process, making it one of the fastest ways to iterate on component choices. | Extremely efficient for testing different types of street furniture or foliage in large urban models. |
II. STEP-BY-STEP INSTRUCTIONS
The swapping process is straightforward and involves selecting the two components that define the exchange.
| Step | Action | Description & Notes |
| 1. Activate Tool | Click the Swap Object Tool icon. | The tool enters an active state, ready to receive input components. |
| 2. Select Source | Click on a single instance of the Component you want to replace (the one you are swapping FROM). | This tells the tool which component definition should be removed from the model. |
| 3. Select Target | Click on a single instance of the Component you want to insert (the one you are swapping TO). | This tells the tool which component definition should be used for the replacement. |
| 4. Execution | The tool automatically processes the exchange. | All instances of the Component selected in Step 2 are immediately replaced by the Component selected in Step 3, while maintaining the original object’s placement and rotation. |
III. PRACTICAL APPLICATIONS & TIPS
1. Landscape Design
Foliage Variation: Easily switch an entire forest from one tree species to another (e.g., from Tree_A to Tree_B) to check seasonal rendering looks or reduce polygon count.
Density Testing: Swap highly detailed, high-polygon trees for simplified, low-polygon proxies during the drafting phase.
2. Interior and Urban Design
Furniture Layout: Test different seating arrangements or light fixtures in a large space by swapping one default chair model for several alternative models.
Infrastructure Elements: Change all instances of one type of lamp post, bollard, or waste bin model to another type with minimal effort.
3. Workflow Efficiency
Rapid Iteration: Allows the designer to present multiple component options to a client in a fraction of the time required for manual replacement.
Cleaning Models: Quickly replace temporary placeholder components with final, fully detailed components before rendering.
ARCPOLY RANDOM TOOLS
The Arcpoly Random Tools plugin is a powerful utility designed to automate the randomization of rotation and scale for selected groups and components within SketchUp. This tool is essential for creating realistic, non-repeating environments, making it ideal for scattering foliage, rocks, grass, and other landscape elements.
I. CRITICAL REQUIREMENT: OBJECT AXIS CORRECTION
The core function of the random tools relies entirely on the object’s internal coordinate system (Axis). If the Axis is misplaced, the rotation will cause objects to shift unpredictably.
| Issue | Explanation | Solution (Axis Correction) |
| Incorrect Rotation | If the Group/Component’s Axis is not located at the desired pivot point (e.g., the base center), the Random Rotate function will move the object out of its place, resulting in floating or displaced items. | 1. Enter the Group or Component. 2. Use the Axis Tool (default hotkey often X). 3. Redefine the Axis by placing the origin at the center-bottom point of the object (e.g., the center of the block’s base or the tree trunk’s root). 4. Exit the Group/Component and confirm the Axis change when prompted. |
| Purpose of Correction | By placing the Axis at the base center, the object will rotate around its own stationary footprint, maintaining its position while changing its orientation. | Ensure this step is performed before applying any Random Rotate function. |
II. CORE RANDOMIZATION FUNCTIONS
Once your objects have been selected and their Axes are properly set, you can use these three main buttons to apply randomization effects.
| Feature | Icon | Functionality and Typical Use Case |
| Random Rotate | Rotation Icon | Randomizes the orientation of the selected objects around their Z-axis (vertical axis). This is primarily used to eliminate repetitive patterns in elements like trees, bushes, or furniture by giving each a unique viewing angle. |
| Random Scale | Scale Icon | Randomizes the size of the selected objects within the defined Min/Max Scale range. Crucial for natural elements (e.g., making trees taller/shorter, rocks larger/smaller) to enhance realism. |
| Random Both | Combined Icon | Applies both Random Rotate and Random Scale simultaneously, using the parameters set in the Settings window. This is the fastest way to achieve maximum visual variety. |
III. RANDOMIZATION SETTINGS (SETUP)
The Settings menu provides precise control over the randomization boundaries, ensuring the generated variation remains visually consistent and controlled.
| Parameter | Purpose | Usage and Example Values |
| Angle (Rotation Step) | Determines the step size for the random rotation. | – Default (1): Allows almost complete random rotation (e.g., 1°, 55°, 180°). – Custom Value (e.g., 45): Limits the rotation to only multiples of 45 degrees (e.g., 0°, 45°, 90°, 135°). |
| Scale Min (%) | Sets the minimum allowed size for objects after scaling, expressed as a percentage of the original size. | Enter a Min Value (e.g., 100). If set to 100%, objects will not shrink from their initial size. |
| Scale Max (%) | Sets the maximum allowed size for objects after scaling, expressed as a percentage of the original size. | Enter a Max Value (e.g., 150). Objects will be randomly scaled up to a maximum of 150% of their original size. |
| Save Settings | Saves the adjusted values for Angle, Scale Min, and Scale Max. | Always click OK after making any changes in the Settings menu to ensure the new parameters are applied to the next randomization process. |
PRACTICAL APPLICATIONS
The Arcpoly Random Tools is an indispensable utility for creating highly detailed and believable scenes:
Landscape Design: Scattering various plants, stones, and ground covers (grass tufts) efficiently.
Foliage Diversity: Generating slight, natural variations in the height and orientation of trees and shrubs.
Urban Elements: Randomizing objects like street furniture, bollards, or paving slabs to avoid a “stamped” look.
ARCPOLY STATS SELECTION
The Arcpoly Stats Selection is a free, powerful utility designed to analyze and display detailed statistical information about the geometric entities (faces, edges, groups) selected in SketchUp. This tool is essential for tasks requiring precise calculation of areas, perimeters, and object dimensions, especially in planning, quantity surveying, or land subdivision.
I. CORE FUNCTIONALITY AND INTERFACE
The tool operates via a separate window that updates dynamically based on the user’s selection, providing real-time data analysis.
| Information Category | Data Provided | Application |
| Edges (Lines) | Total number of edges, Total perimeter (combined length of all edges), Length of individual edges. | Essential for calculating lineal measurements, such as fencing, trim, or pipe lengths. |
| Faces (Surfaces) | Total number of faces, Total combined area, Area of individual faces. | Crucial for quantity takeoff (e.g., paint, tiling, flooring) and land area verification (subdivision). |
| Geometry Type | Identifies the shape (e.g., Rectangle, Circle, Polygon). | Provides dimensional data (Length x Width for rectangles, Diameter/Radius for circles). |
II. STEP-BY-STEP USAGE
| Step | Action | Detailed Description |
| 1. Activate Tool | Click the Arcpoly Stats Selection button. | A dedicated statistical window will open, initially showing a prompt to select objects. |
| 2. Select Geometry | Select the entities you wish to analyze. | Use the standard SketchUp selection tools (Select Tool, Deep Select, etc.) to choose faces, edges, groups, or components. The statistical window will immediately populate with data. |
| 3. Analyze Data | Review the detailed breakdown in the window. | The window displays the total measurements and a list of individual entity measurements. |
| 4. Locate Entity | Click on a specific item in the list. | If you have many surfaces, clicking on a face’s entry in the list will automatically select and zoom to that face in the SketchUp viewport. |
III. PRACTICAL APPLICATIONS (PLANNING & DESIGN)
Area Verification: In urban planning or site design, quickly check if the subdivided land lots (faces) meet the minimum area requirements by checking the area of each individual face.
Troubleshooting: Use the Locate Entity feature to quickly find faces that are too small or have anomalous dimensions (e.g., a face with an area of 0.0001 m²), helping you clean up geometry errors.
Quick Quantity Takeoff: Provides immediate, summarized totals for perimeter and area, useful for preliminary cost estimation.
Arcpoly Stats Selection is a valuable, free optimization tool for ensuring geometric accuracy and facilitating quick measurements within your SketchUp models.
Plugins Sketchup
-

Arcpoly Quick Material Tools – 1 Year
35,00$ BuyShow geometry statistics for your selections — faces, edges, and components. Great for model…
-

Arcpoly Enscape Asset Tools - 1 Year
25,00$ BuyArcpoly Enscape Asset Tools lets you edit Enscape asset materials directly from their texture…
-

-
 Free
Free
Arcpoly Stats Selection
Free GetShow geometry statistics for your selections — faces, edges, and components. Great for model…
-
 Free
Free
Arcpoly Random Tools - 1 Year
Free GetApply random rotation, scaling, and position variations to objects. Add natural imperfections with one…
-
Arcpoly Quick Move Tools - 1 Year
10,00$ BuyQuickly move objects with precision. Boost your modeling speed with smarter transformation controls.
-
 Free
Free
Arcpoly Deep Select Tools
Free GetSelect hidden faces, edges, and nested geometry without entering groups or components. Faster access…
-

Arcpoly Materials Tools - 1 Year
30,00$ BuyManage Enscape and V-Ray material libraries, advanced diffuse texture editing, library import/export, and cleanup…
-
Arcpoly Swap Object Tools - 1 Year
10,00$ BuyReplace multiple components at once. Perfect for upgrading assets in bulk.
-

Arcpoly Hide Edges Tools - 1 Year
10,00$ BuyHide or unhide edges fast with one click. Improve modeling clarity and create clean,…
-
Arcpoly Select Tools - 1 Year
10,00$ BuyAdvanced selection features to instantly pick faces, edges, components, or hidden geometry. Work smarter…
-

Arcpoly Smart Paint Tools - 1 Year
10,00$ BuyApply and replace materials intelligently across objects and nested geometry. Paint deeper without opening…